How to Cut HTV on Cricut with Precision: A Stepwise Guide
Hello crafters! Not making anything new? Well, crafters don’t have any specific season to try something new. I am always active with my amazing Cricut machines whenever I feel so. Are you the same? No problem. Today, I thought I should write about how to cut HTV on Cricut. By HTV, I mean Heat Transfer Vinyl, as you already know.
Why did I choose this topic?
It’s because many beginners often get confused between normal vinyl and iron-on
vinyl, and they don’t find the right guidance to cut both correctly.
So, I decided to create a
particular blog related to cutting HTV. Here, you will get a step-by-step guide
on cutting HTV on any of your Cricut machines. Hence, be with me till the end
to learn something new.
What Is an HTV (Heat Transfer Vinyl)?
Before moving forward, learn how to cut HTV on Cricut. Many people
might not know that iron-on vinyl and HTV are the same. These two things are
nothing different. So, I hope these terms don’t bother you at all next time.
HTV is a special polyurethane product with a typical polyester adhesive that is
activated by heat.
These types of vinyl are used on
different fabrics to transfer design. These vinyls are used in making T-shirts,
projects on apparel. Advertisement industry has a great use of HTV to make
promotional products.
How to Cut HTV on Cricut to Make a
Personalized Project?
Finally, the steps come here. If
you are wondering about cutting HTV correctly on a Cricut, all your confusion
will be gone after seeing these simplified steps on it. Have a look at the
steps.
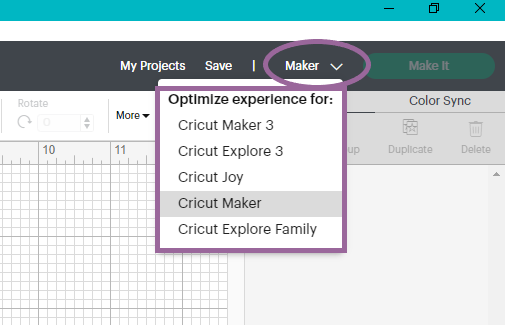
Step
1: Choose Your Cricut Machine in Design Space
To get started, you need to
launch your Cricut Design Space and pick a New
Project. Then, expand the drop-down menu at the upper corner and pick a
machine from the Cricut family. So, I am choosing Cricut Maker to cut HTV.

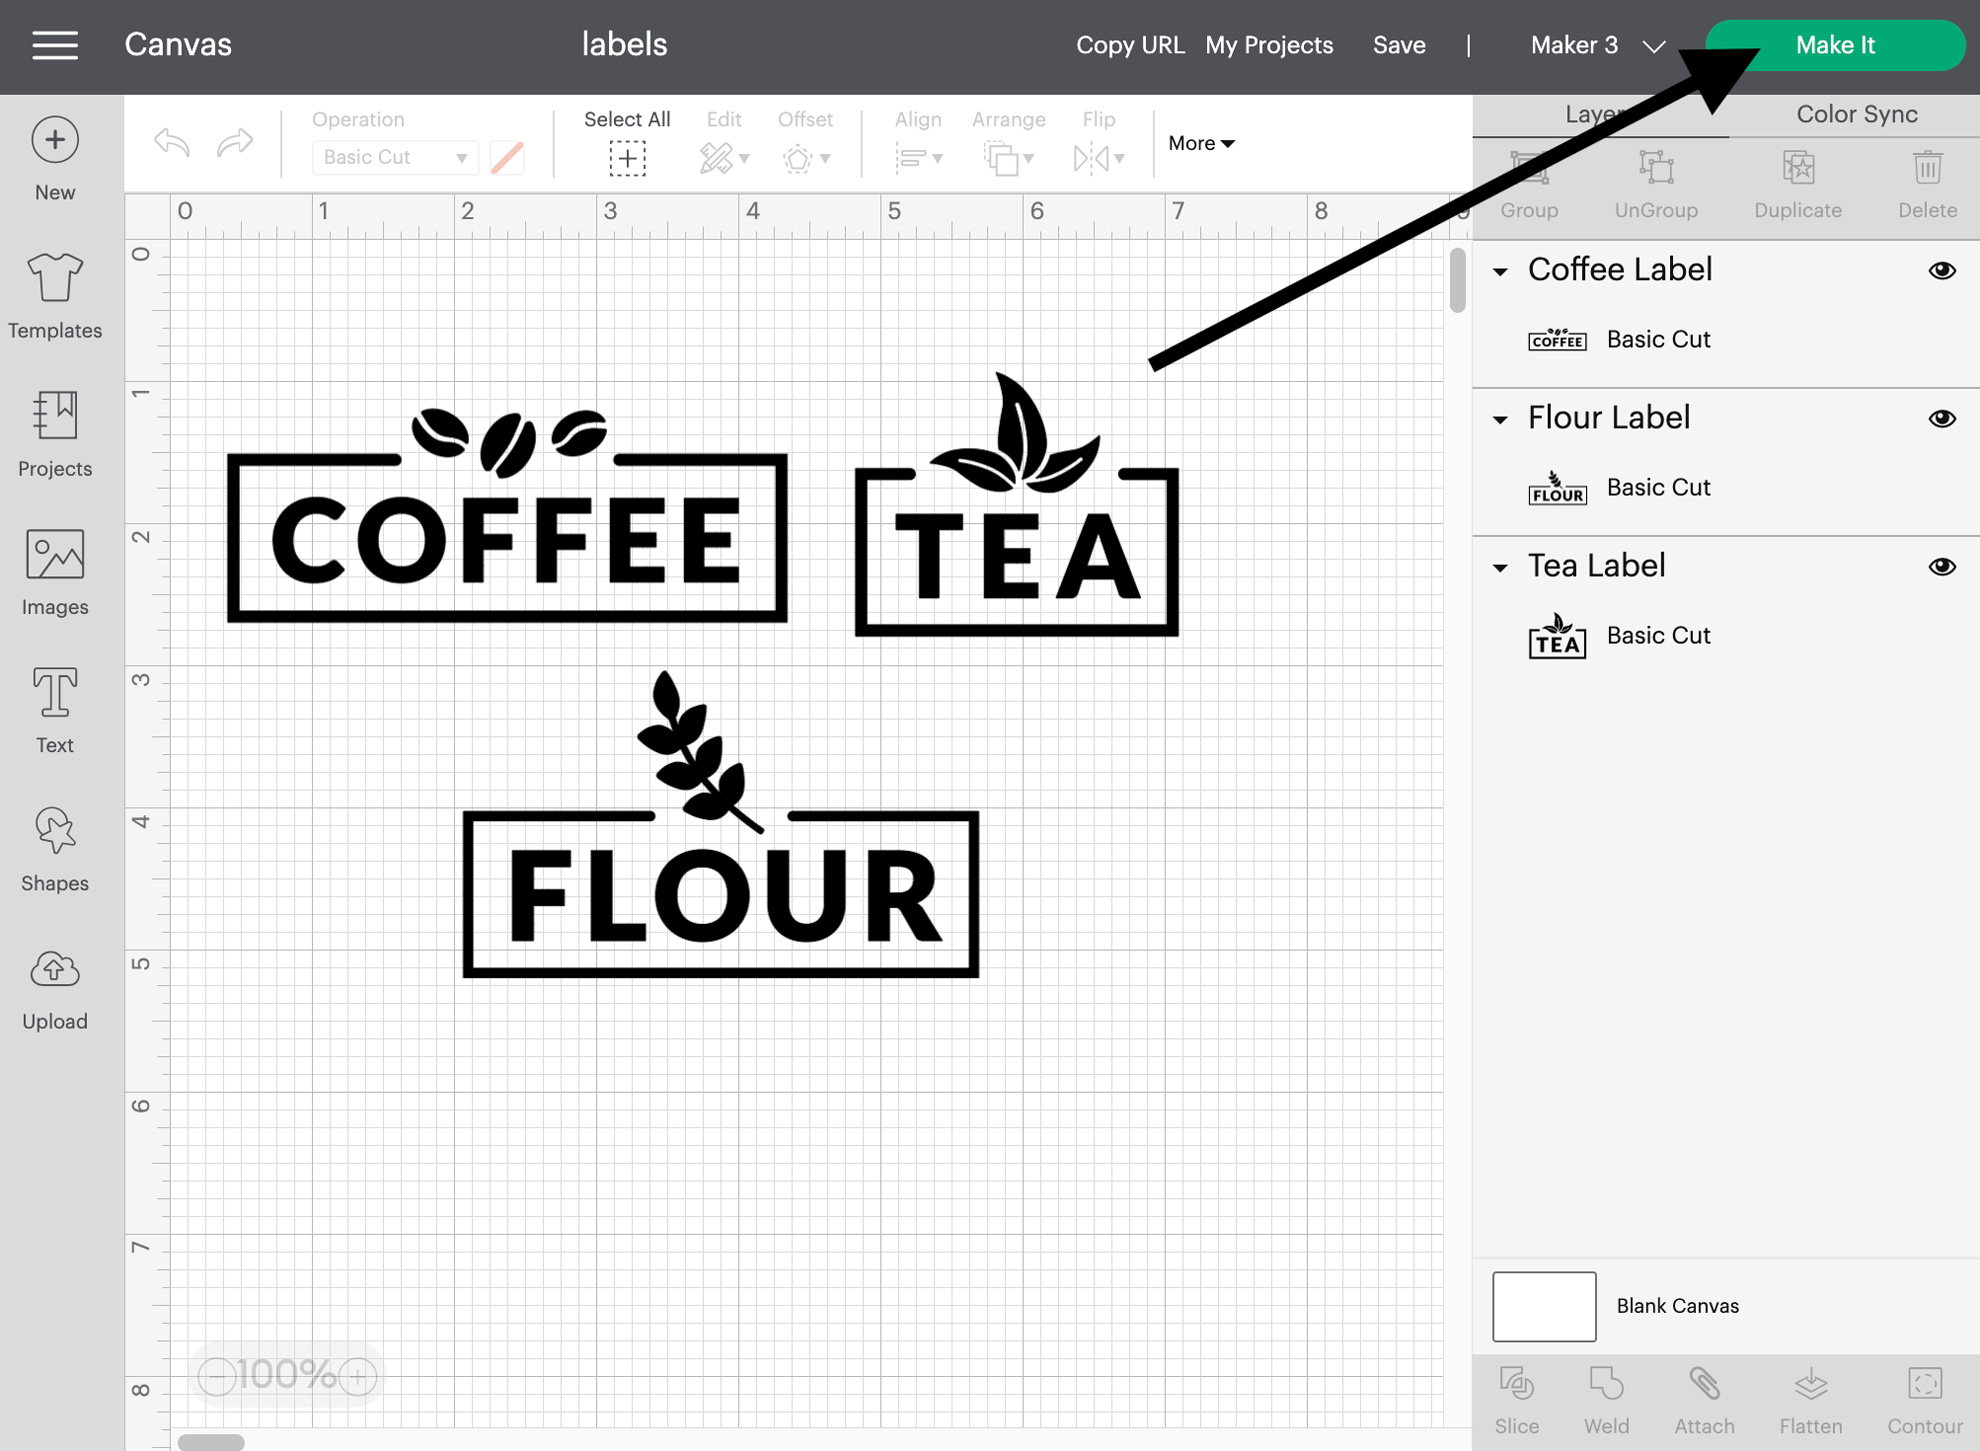
Step
2: Select a Design
When you are cutting HTV, you
must select a design to cut. Here, Design Space will help you find or create a
design on your own. If you have a Cricut
Access subscription, you’ll have plenty of options to select to make a
design.
Once you have picked a design,
you can resize it according to your needs. After that, hit the “Make It” button at the top corner of
Design Space. Continue with the steps to learn how to cut HTV on Cricut.
Step
3: Mirror Your Design
Once you click the “Make It” button, a mat screen will
appear. To mirror your design, choose the radio button. You need to mirror all
your iron-on projects to apply them in the correct sequence on your material.
For more than one color, you will have to mirror the design on all cutting
mats. Once done, hit the “Continue“ button.

Step
4: Select the Material for Your Project
When you have finished all the
above steps, you are ready to select a material to cut. If you’re using the
Cricut Maker, Cricut Maker 3, Cricut Explore Air 2, or Cricut Joy, you will see
all the materials displayed on the screen. And then set a material from the
list.
In case of Cricut Explore Air 2
or related models, you need to turn the settings for iron-on to create iron-on
projects. Now, choose Custom on your dial while using any specific iron-on
materials.
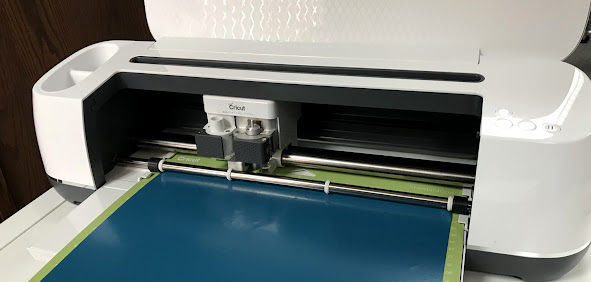
Step
5: Get Ready With Your Cricut Cutting Mat
HTV has different sides. One
side is plastic with a carrier sheet and another side is matte. In this step,
you need to place your iron-on to your mat with the plastic side down.
Step
6: Load the Mat into Your Cricut Maker Machine
Select a method to load the mat
into the Cricut machine according to whatever machine you have. It can be
flashing an arrow button to press.
Step
7: Start the Cutting Process
In this step, you need to allow
your cutting machine to cut the iron-on vinyl or HTV. You need to press the “C” button to start cutting your
material on a Cricut machine. That’s it for cutting HTV on the Cricut cutting
machine. You can enjoy your project now.
Conclusion
Finally, you have learned how to cut HTV on Cricut machine. HTV
or iron-on vinyl is great for making sublimation projects where you are using
infusible ink. If you want to make a custom T-shirt, tote bag, or anything that
needs ink.
No matter which Cricut machine
you are using, you can easily cut an HTV and create the desired design on it.
With the help of this guide, you can create a project on your own.
FAQs
Which
Side of the HTV Should Go Down on the Mat?
While cutting HTV on the Cricut,
you should ensure the shinier side is kept down on the Cricut mat. Due to this,
your design will print accurately on the glossy side without errors and
mishaps. So, keep it in mind whenever creating an iron-on project on your
Cricut machine.
Can
I Cut HTV by Hand?
Yes, you can cut an HTV with a
pair of scissors if you don’t have a Cricut machine. To do this, first you need
to draw the design on your HTV and then cut it precisely with scissors. You can
print some images to cut your vinyl by creating an outline.
What
Can I Make With HTV?
If you want to create Cricut HTV projects, there are some
crazy things you can create. For instance, you can create custom T-shirts, home
decor stuff, sports apparel, and many other things. It works smoothly on all
types of fabrics.
Source URL: - How to Cut HTV on Cricut


Comments
Post a Comment